Background
In the previous parts we saw how to do the PowerShell piece, building the needed scripts to manage the Teams user based firewall rules as well as the setup and uninstall scripts. This next part will show how to wrap our scripts in a Win32App .intune wrapper and then build the policies that will deploy the app.
Intune Content Prep Tool
Using the Intune Content Prep Tool found here along with the instructions, we can see that we need to save all of our scripts into a common directory and then point the Intune Content Prep tool at it to generate our .intune file.
After downloading and extracting the tool, we will just use a powershell window to execute the following:
.\IntuneWinAppUtil.exe -c C:\PathToYourFolder\Scripts\Set-TeamsFirewallRules -s Setup-TeamsFireWallRules.ps1 -o c:\PathToYourCompletedIntuneFile
We are using the following arguments:
- -c (Setup Folder to inform the tool that we want the entire folder and contents to be wrapped)
- -s (Setup file argument to direct it to the Setup-TeamsFirewallRules.ps1 script)
- -o (Define the output path where we want to intune file to be written to)
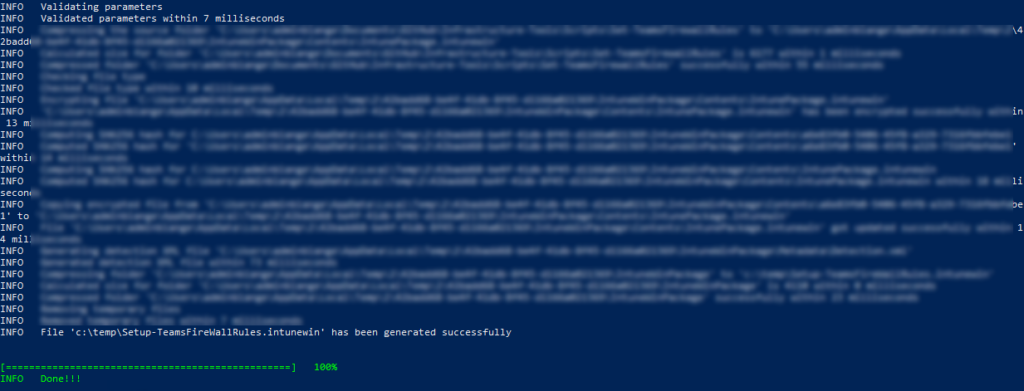
You will see the tool run through and output information showing what it is doing, finally ending on a green DONE line.
Now that you have the .intunewin file we will create the Intune deployment and upload the file there.
Intune Deployment
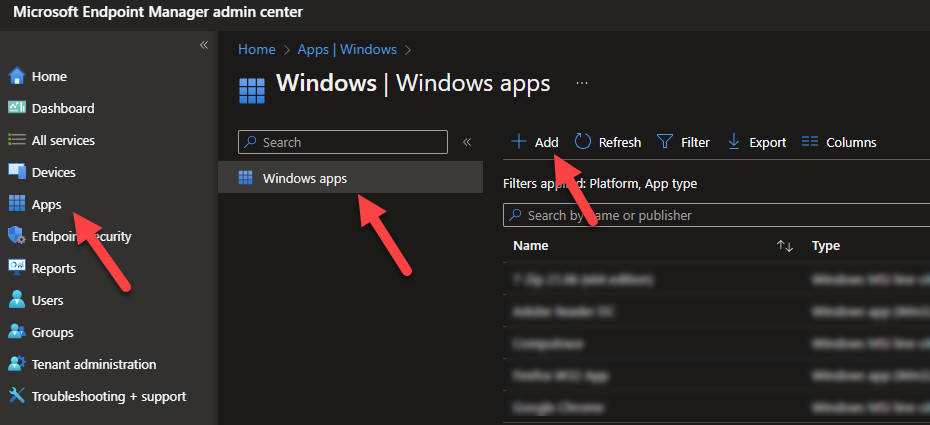
Going to your Intune console select Apps -> Windows Apps -> Add to create a new deployment
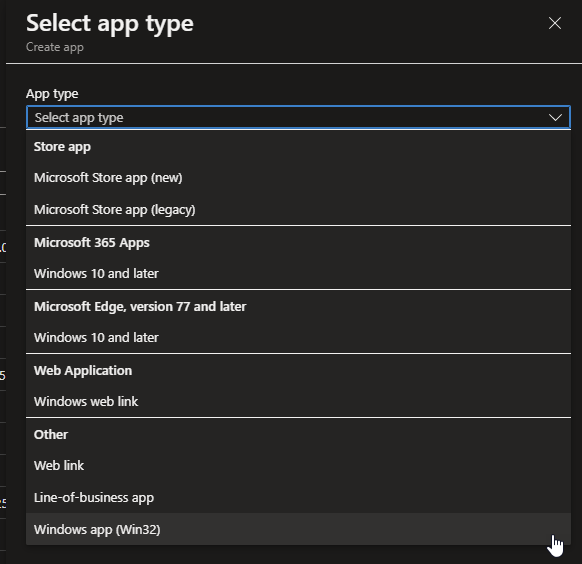
On the next screen select your App Type (Win32App)
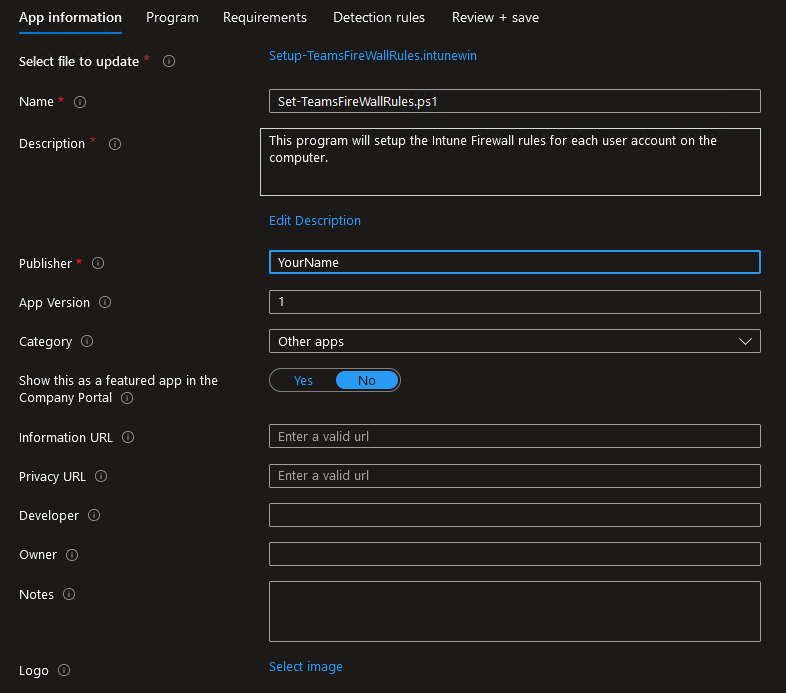
Upload your app package file that you created above and walk through the settings windows filling out the required information:
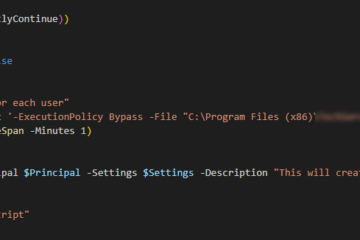
For the install and uninstall commands we will point to the locations where the script will live at each point in it’s life. For the install we can initiate it from the script path by calling “Powershell.exe -NoProfile -ExecutionPolicy ByPass -File .\Setup-TeamsFireWallRules.ps1”
For the uninstall portion, we will need to statically define where the file is based on the locations we built in the setup script by calling “Powershell.exe -NoProfile -ExecutionPolicy ByPass -File “C:\Program Files (x86)\YourPath\Scripts\Set-TeamsFirewallRules\Uninstall-TeamsFireWallRules.ps1” ” (Make a note of the quotes and types of quotes here).
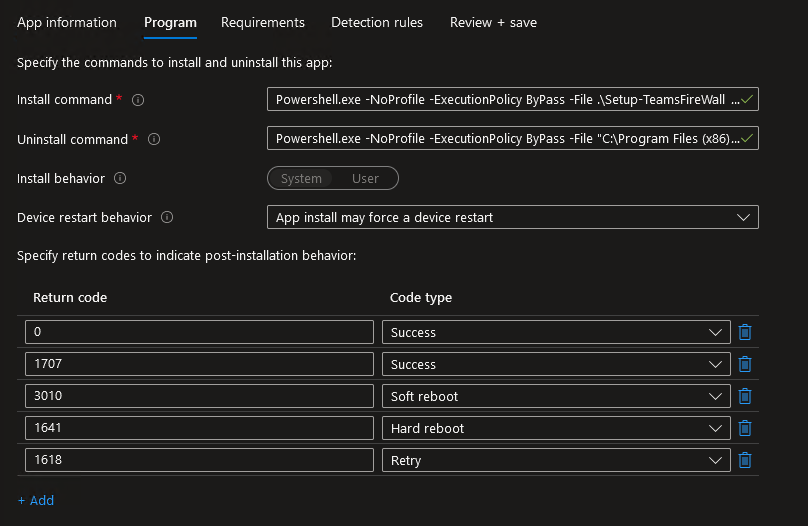
For requirements we can select the default Windows versions.
For detection rules we will want to look at the age of the Scheduled Task file that gets created. You can find the scheduled task file by going to : C:\Windows\System32\Tasks\ Once there you should see the new task that you created and by inspecting it you can view the modified date of the task. Setting this detection rules to look at a newer date than this will cause the file to be reinstalled.

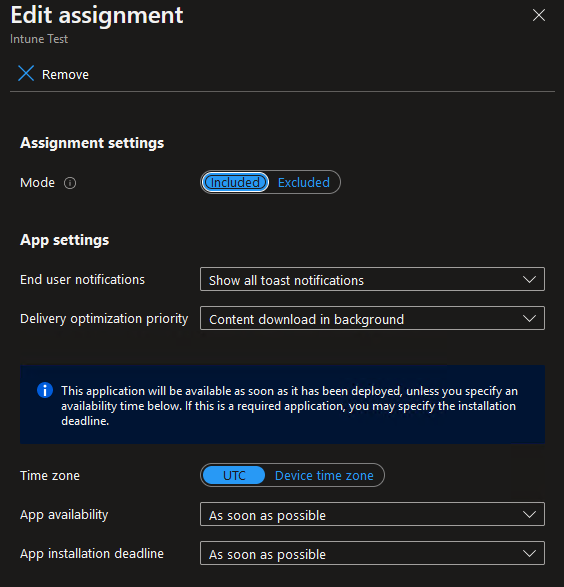
Setup your Intune Assignment groups to deploy the app on whatever schedule you see fit using the settings that match what you want – in this example I am deploying to the Intune-Test group, showing all notificatons, downloading everything in the background and deploying as soon as possible.
Once you have saved the app, sit back and wait for your deployment metrics to start rolling in:
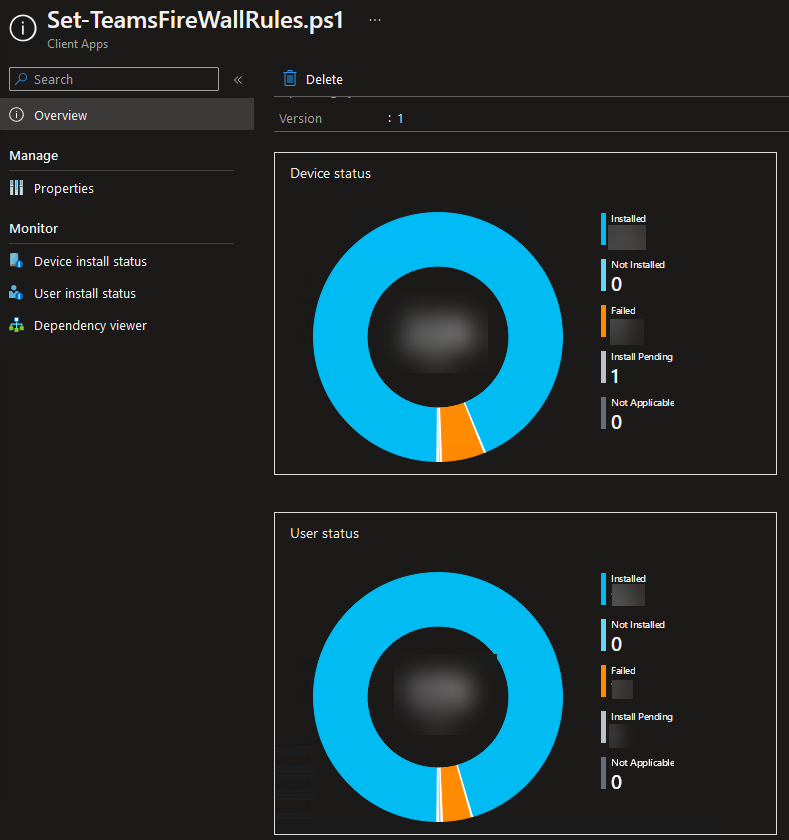
Now you are done! If you want to uninstall the app and clean everything up, just move the deployment group to the Uninstall section in the assignments portion and it will begin removing it using your uninstall script.
See the previous posts here:
0 Comments